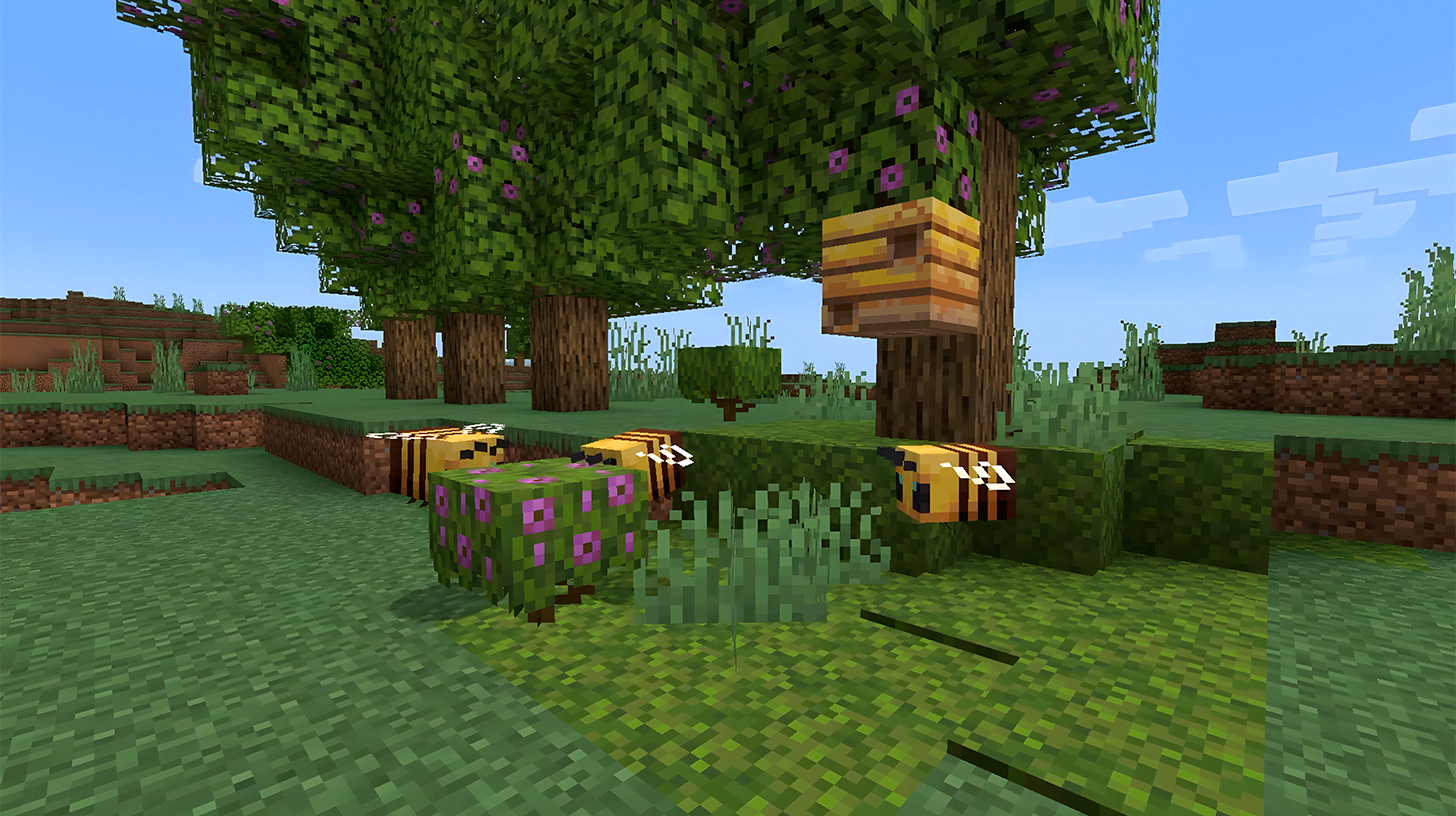
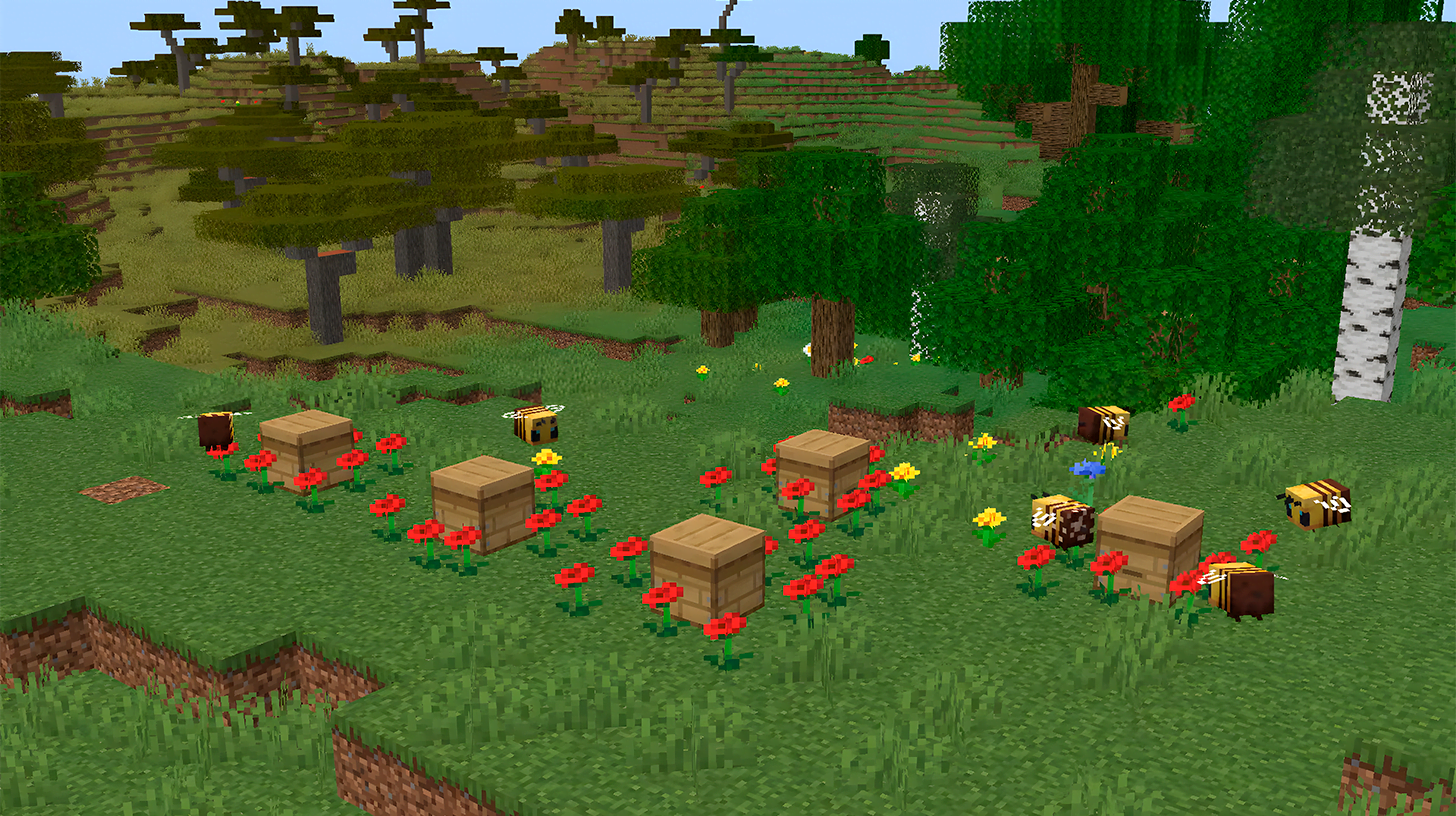
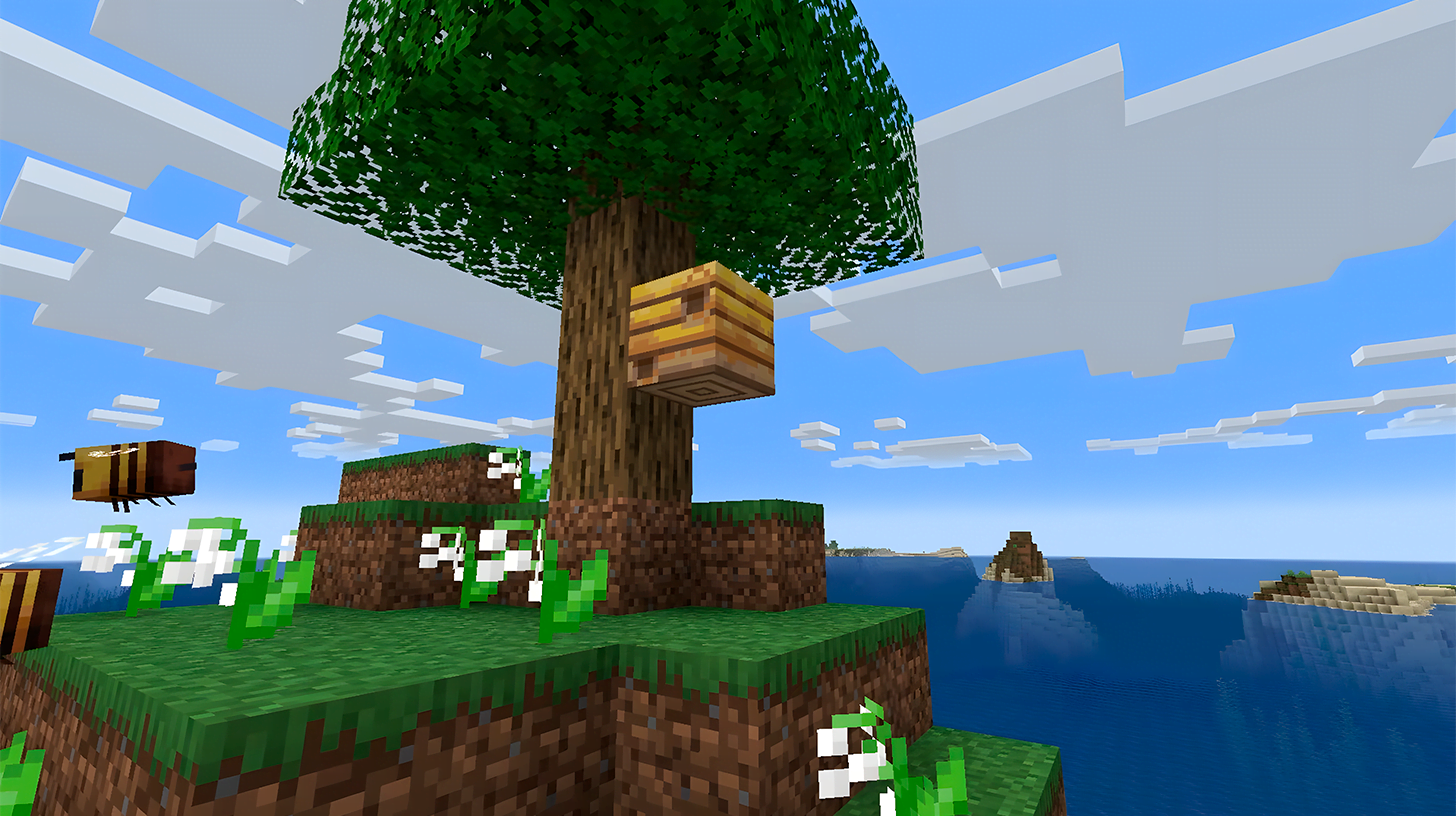
Honeycomb is a valuable item in Minecraft, serving various crafting purposes. However, obtaining honeycomb can be challenging since it requires extraction directly from bee nests. If not handled properly, this process can anger the bees and lead to players being stung. In this tutorial, we will guide you through safely acquiring honeycomb, managing bees, and maximizing the potential of both bee nests and hives.
How to Safely Harvest Honeycomb
The first step is to locate or create a nest. You will also need a pair of shears, which can be crafted with two iron ingots at any crafting table. We will discuss how to find bee nests and craft beehives later in this guide.
After locating a beehive and equipping your shears, follow these steps to harvest honeycomb safely:
- Build a campfire beneath the nest or hive, allowing the smoke to rise. The smoke calms the bees, enabling you to collect honeycomb without agitating them. It’s recommended to create a pit under the hive or nest and place the fire within it to prevent the fire from spreading or accidentally harming the bees. Some players suggest constructing a barrier around the fire in the Bedrock version or placing a carpet in the Java version for additional bee safety.
- Once the bees are calm, use your shears to harvest the honeycomb. The controls will differ: PC players should right-click and hold; Nintendo Switch players should use RZ; PlayStation players should use R2; Xbox Players should use RT; and mobile users should tap and hold on the beehive. You can collect up to three honeycombs.
- After harvesting, extinguish the campfire and clean up the area.
- Return later and repeat steps 1-3 to gather more honeycomb.
- Pro Tip: If you kill the bees, the nest or hive will become abandoned and no longer produce honeycomb.
While you can skip making the bees docile before harvesting, they will chase and sting you, causing instant damage and poisoning. We recommend using the campfire method to calm them, not harming the bees in the process.

Locating Bee Nests
Finding bee nests is relatively easy, but their spawn rates vary by biome. They are found exclusively in oak, mangrove, and birch trees. Below is a list of biomes and the corresponding percentage chance of finding a bee nest:
- Meadow — 100% chance if a birch or oak tree is present.
- Plains and Sunflower plains — 5% chance in both Java and Bedrock editions. Mangrove Swamp — 5% chance in Java Edition and 4% in Bedrock Edition.
- Flower forest — 2% chance in Java Edition and 3% chance in Bedrock Edition.
- Forest, Birch forest, New growth birch forest — 0.2% chance in Java Edition and 0.035% chance in Bedrock Edition.
Some biomes may have alternate names. For example, an old-growth birch forest is sometimes referred to as Tall Birch Forest. These percentages apply to naturally occurring trees in each biome. You can also spawn beehives using saplings and flowers, which we will discuss in the next section.
How to Spawn Your Own Bee Nest and Craft a Beehive
In Minecraft, you have the ability to spawn your beehive. While the process is not overly complicated, the spawn rate is relatively low. This means you may need to make several attempts before successfully obtaining one.
What You’ll Need:
- A flower.
- A sapling.
- Optional: Bonemeal.
How to spawn a bee nest:
- Plant the flower in a suitable field within one of the biomes mentioned earlier.
- Plant the sapling within a two-block radius of the flower.
- Allow the tree to grow naturally. There is a 5% chance that it will have a bee nest.
- Optional: Use bonemeal on the sapling to speed up its growth.

Once you have obtained the bee nest, it will function like any other. You can smoke the bees, harvest honeycomb, and relocate it if necessary.
A beehive is a craftable item that operates similarly to a bee nest. It allows you to acquire honeycomb and honey and place it wherever you desire. However, you must provide your bees, as a beehive doesn’t come with its bee population.
Materials you’ll need to craft a beehive:
- Six planks of any type of wood.
- Three honeycombs.
How to craft a beehive:
- Use a crafting table to place three planks in the top row, three planks in the bottom row, and three honeycombs in the middle row.
- Retrieve your beehive from the crafting table.
- Position your hive in the desired location, ensuring there are nearby flowers for the bees.
- Attract some bees from a neighboring nest to the hive; the bees should claim it as their own.
Later in this guide, we will delve into relocating bees. Once all the necessary components are in place, the hive will begin producing honeycomb and honey for you to harvest.
How to Safely Relocate and Transfer a Bee Nest
This guide will walk you through moving a beehive without causing permanent damage. This will allow you to relocate it closer to your home or a more convenient spot for efficient harvesting.
What you’ll need:
- A tool with Silk Touch.
- A bee nest or beehive.
Steps to safely relocate and transfer a bee nest:
- Wait for the bees to return to the nest – Bees typically retreat to their nest at night or during rainfall.
- Use your Silk Touch tool to break the nest with the bees inside – Ensure the bees are inside the nest before breaking it.
- Pick up the nest, move it to the desired location, and place it – Carefully transport the nest to its new spot without disturbing the bees.
- Ensure the availability of nearby flowers for the bees to collect pollen – Flowers are essential for the bees’ pollination process.

The key is patience, waiting for the bees to retreat into their nest before relocating it. If the nest is destroyed while the bees are away, they will search for a new hive or nest. By waiting for the bees to be inside, you can avoid this issue and simplify the process.
Transferring bees from one hive or nest to another can be challenging, with potential complications. To ensure a successful transfer, follow these steps.
Materials you’ll need:
- Either a flower or a lead.
- An empty beehive or bee nest with flowers nearby.
Steps to move bees:
- Attach a lead to the bee or attract its attention with a flower – Bees are drawn to flowers, similar to how sheep are attracted to wheat.
- Gradually lead the bee from its existing hive or nest to the empty one – This may require covering a considerable distance.
- Once the transfer is complete, the bee should claim the empty hive or nest – Ensure there are nearby flowers for the bee to collect pollen, providing a reason to return to the new hive or nest.
Warning: Although the steps above may sound straightforward, various challenges can arise. Bees may detach from the flower and return to their original nest, or the journey may be extensive and demanding for the player. To mitigate these issues, we recommend setting up rest points to confine the bee until you can proceed temporarily.
Bees in Minecraft require special care compared to other animals. It’s not uncommon for bees to reject the new nest or hive and fly back to their original location. Therefore, it may take a few attempts before the bees claim another nest or hive.
Since each nest and hive can accommodate up to three bees, you may need to repeat the process multiple times to ensure they settle into their new home. Once they do, they will produce honeycomb and honey for your enjoyment.
